Tesla Level 2 Home EV Charger Installation Done Right
A lot of Tesla owners spend way too long dealing with slow Level 1 charging - plugging into a standard outlet every night and waking up to a car that's only half charged. It gets old fast. The fix is a Level 2 home charger, and when it's installed correctly, it changes the whole ownership experience.
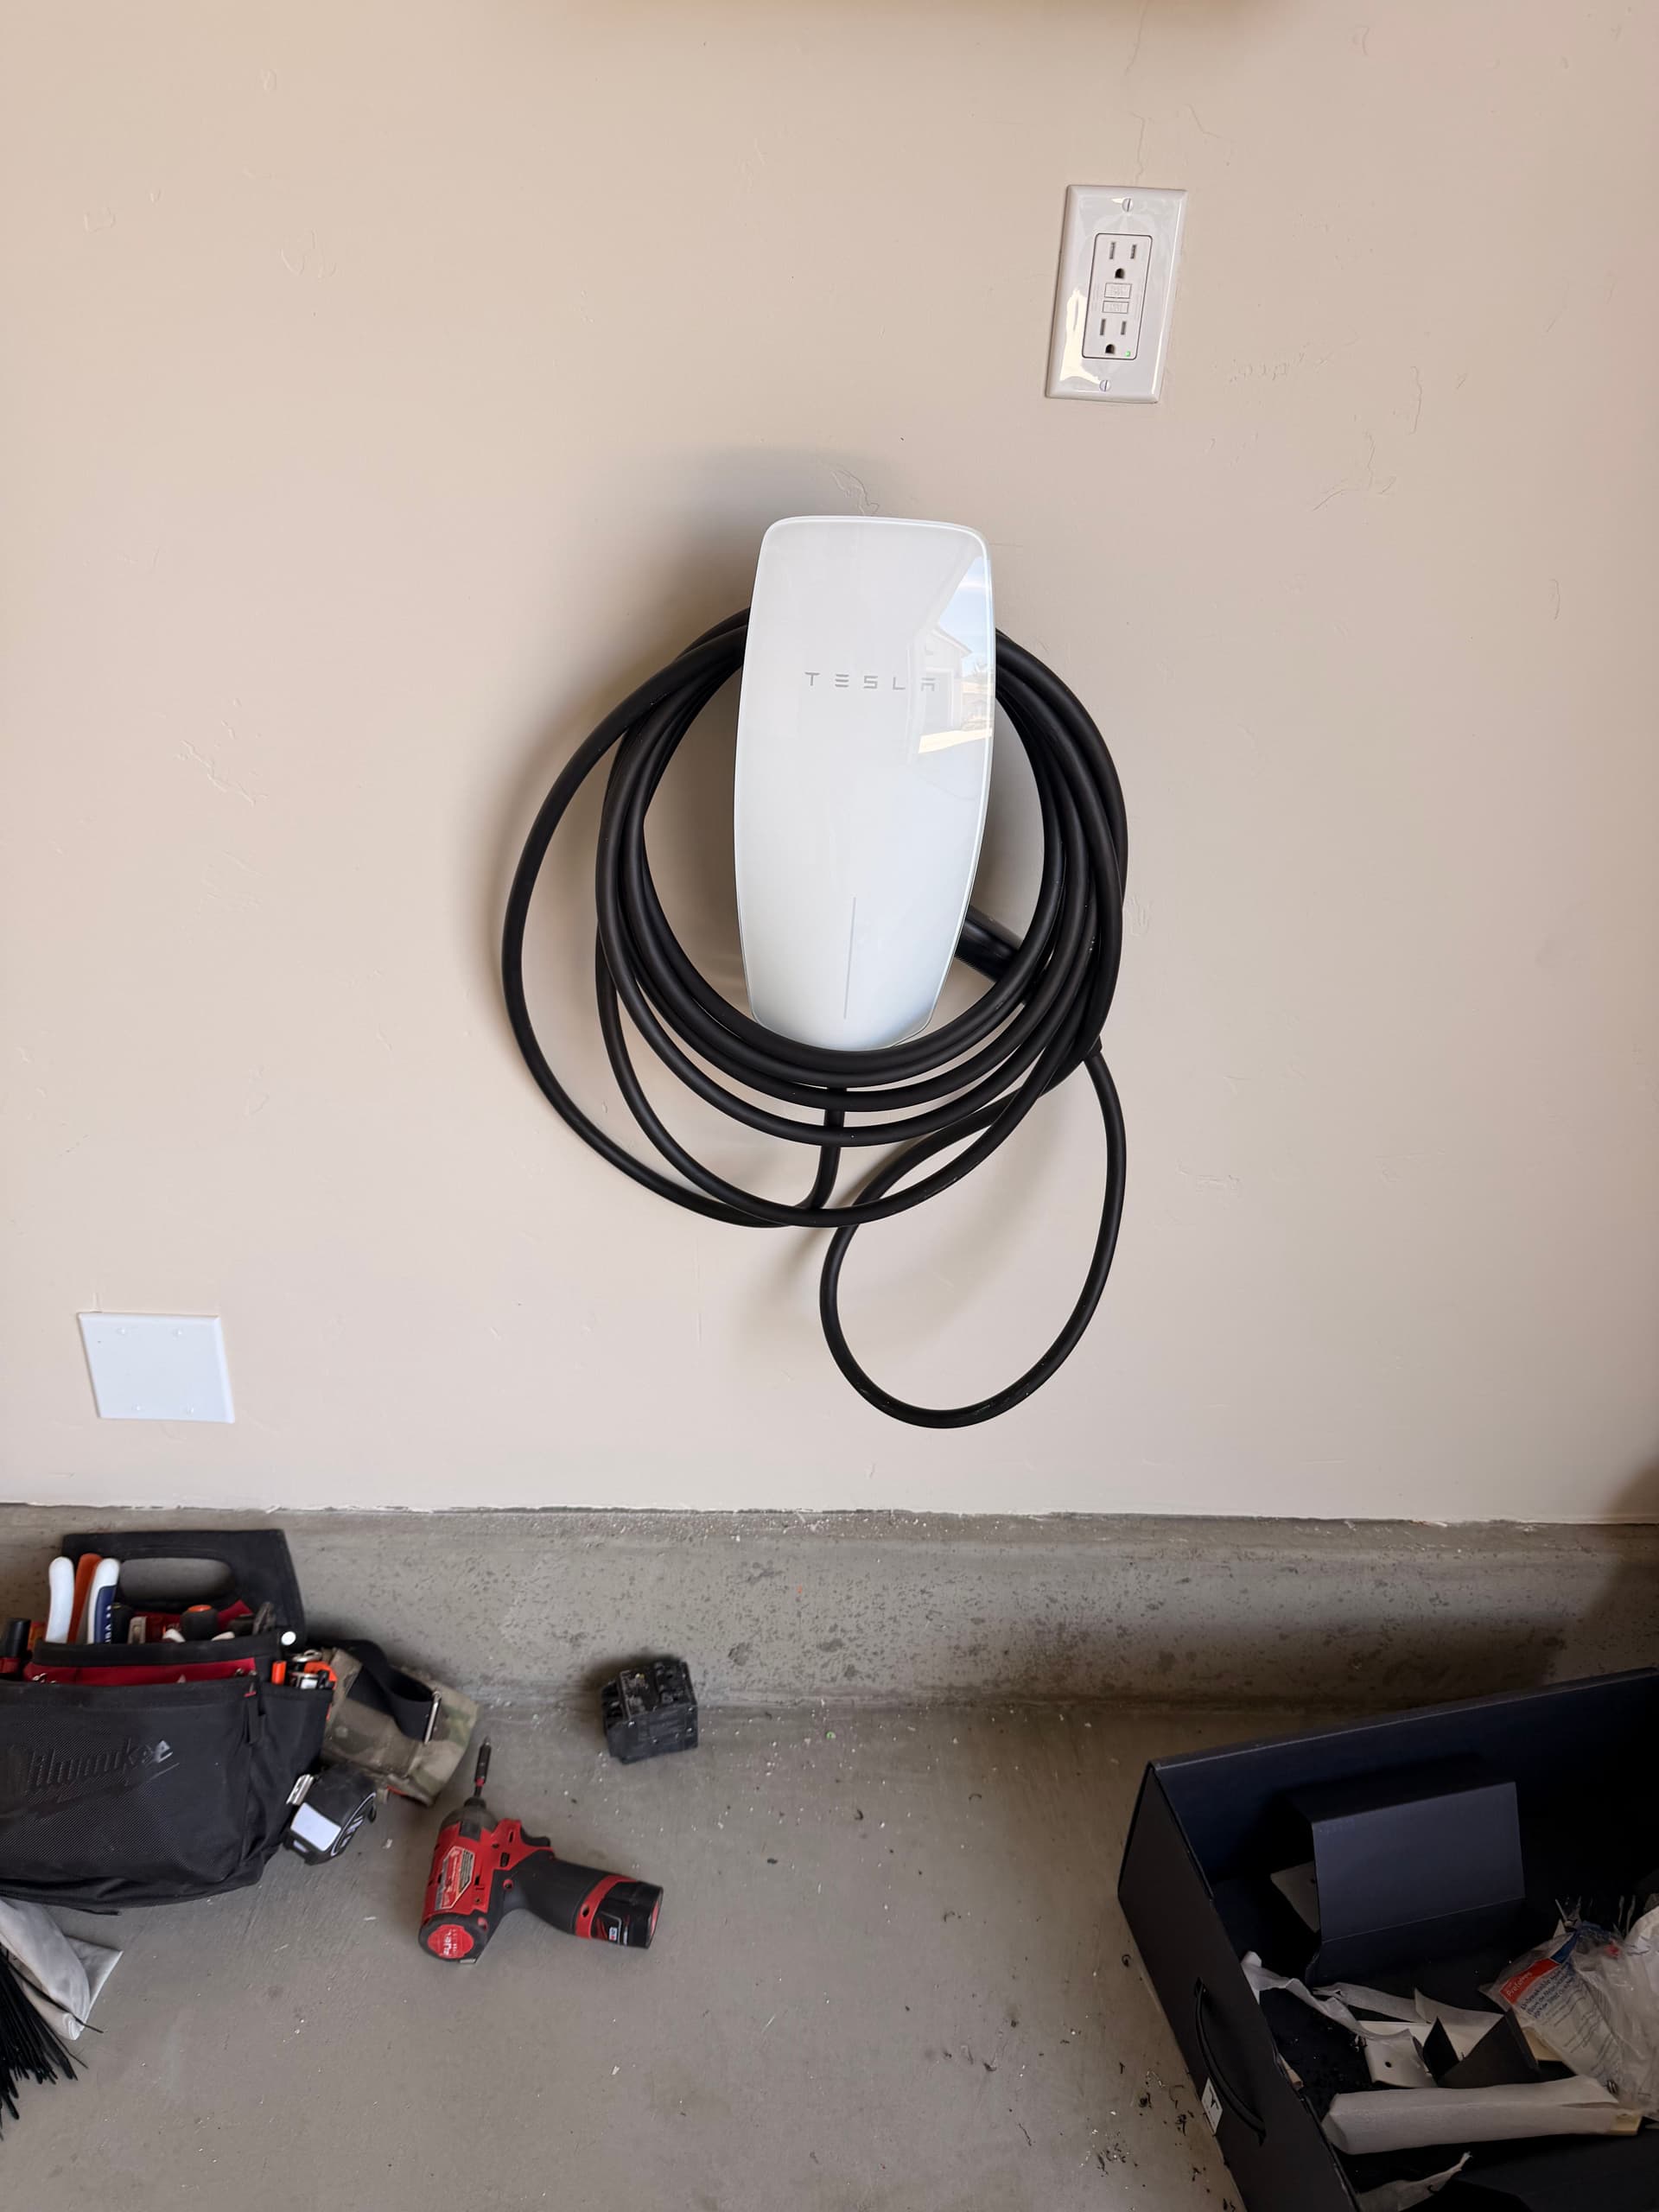
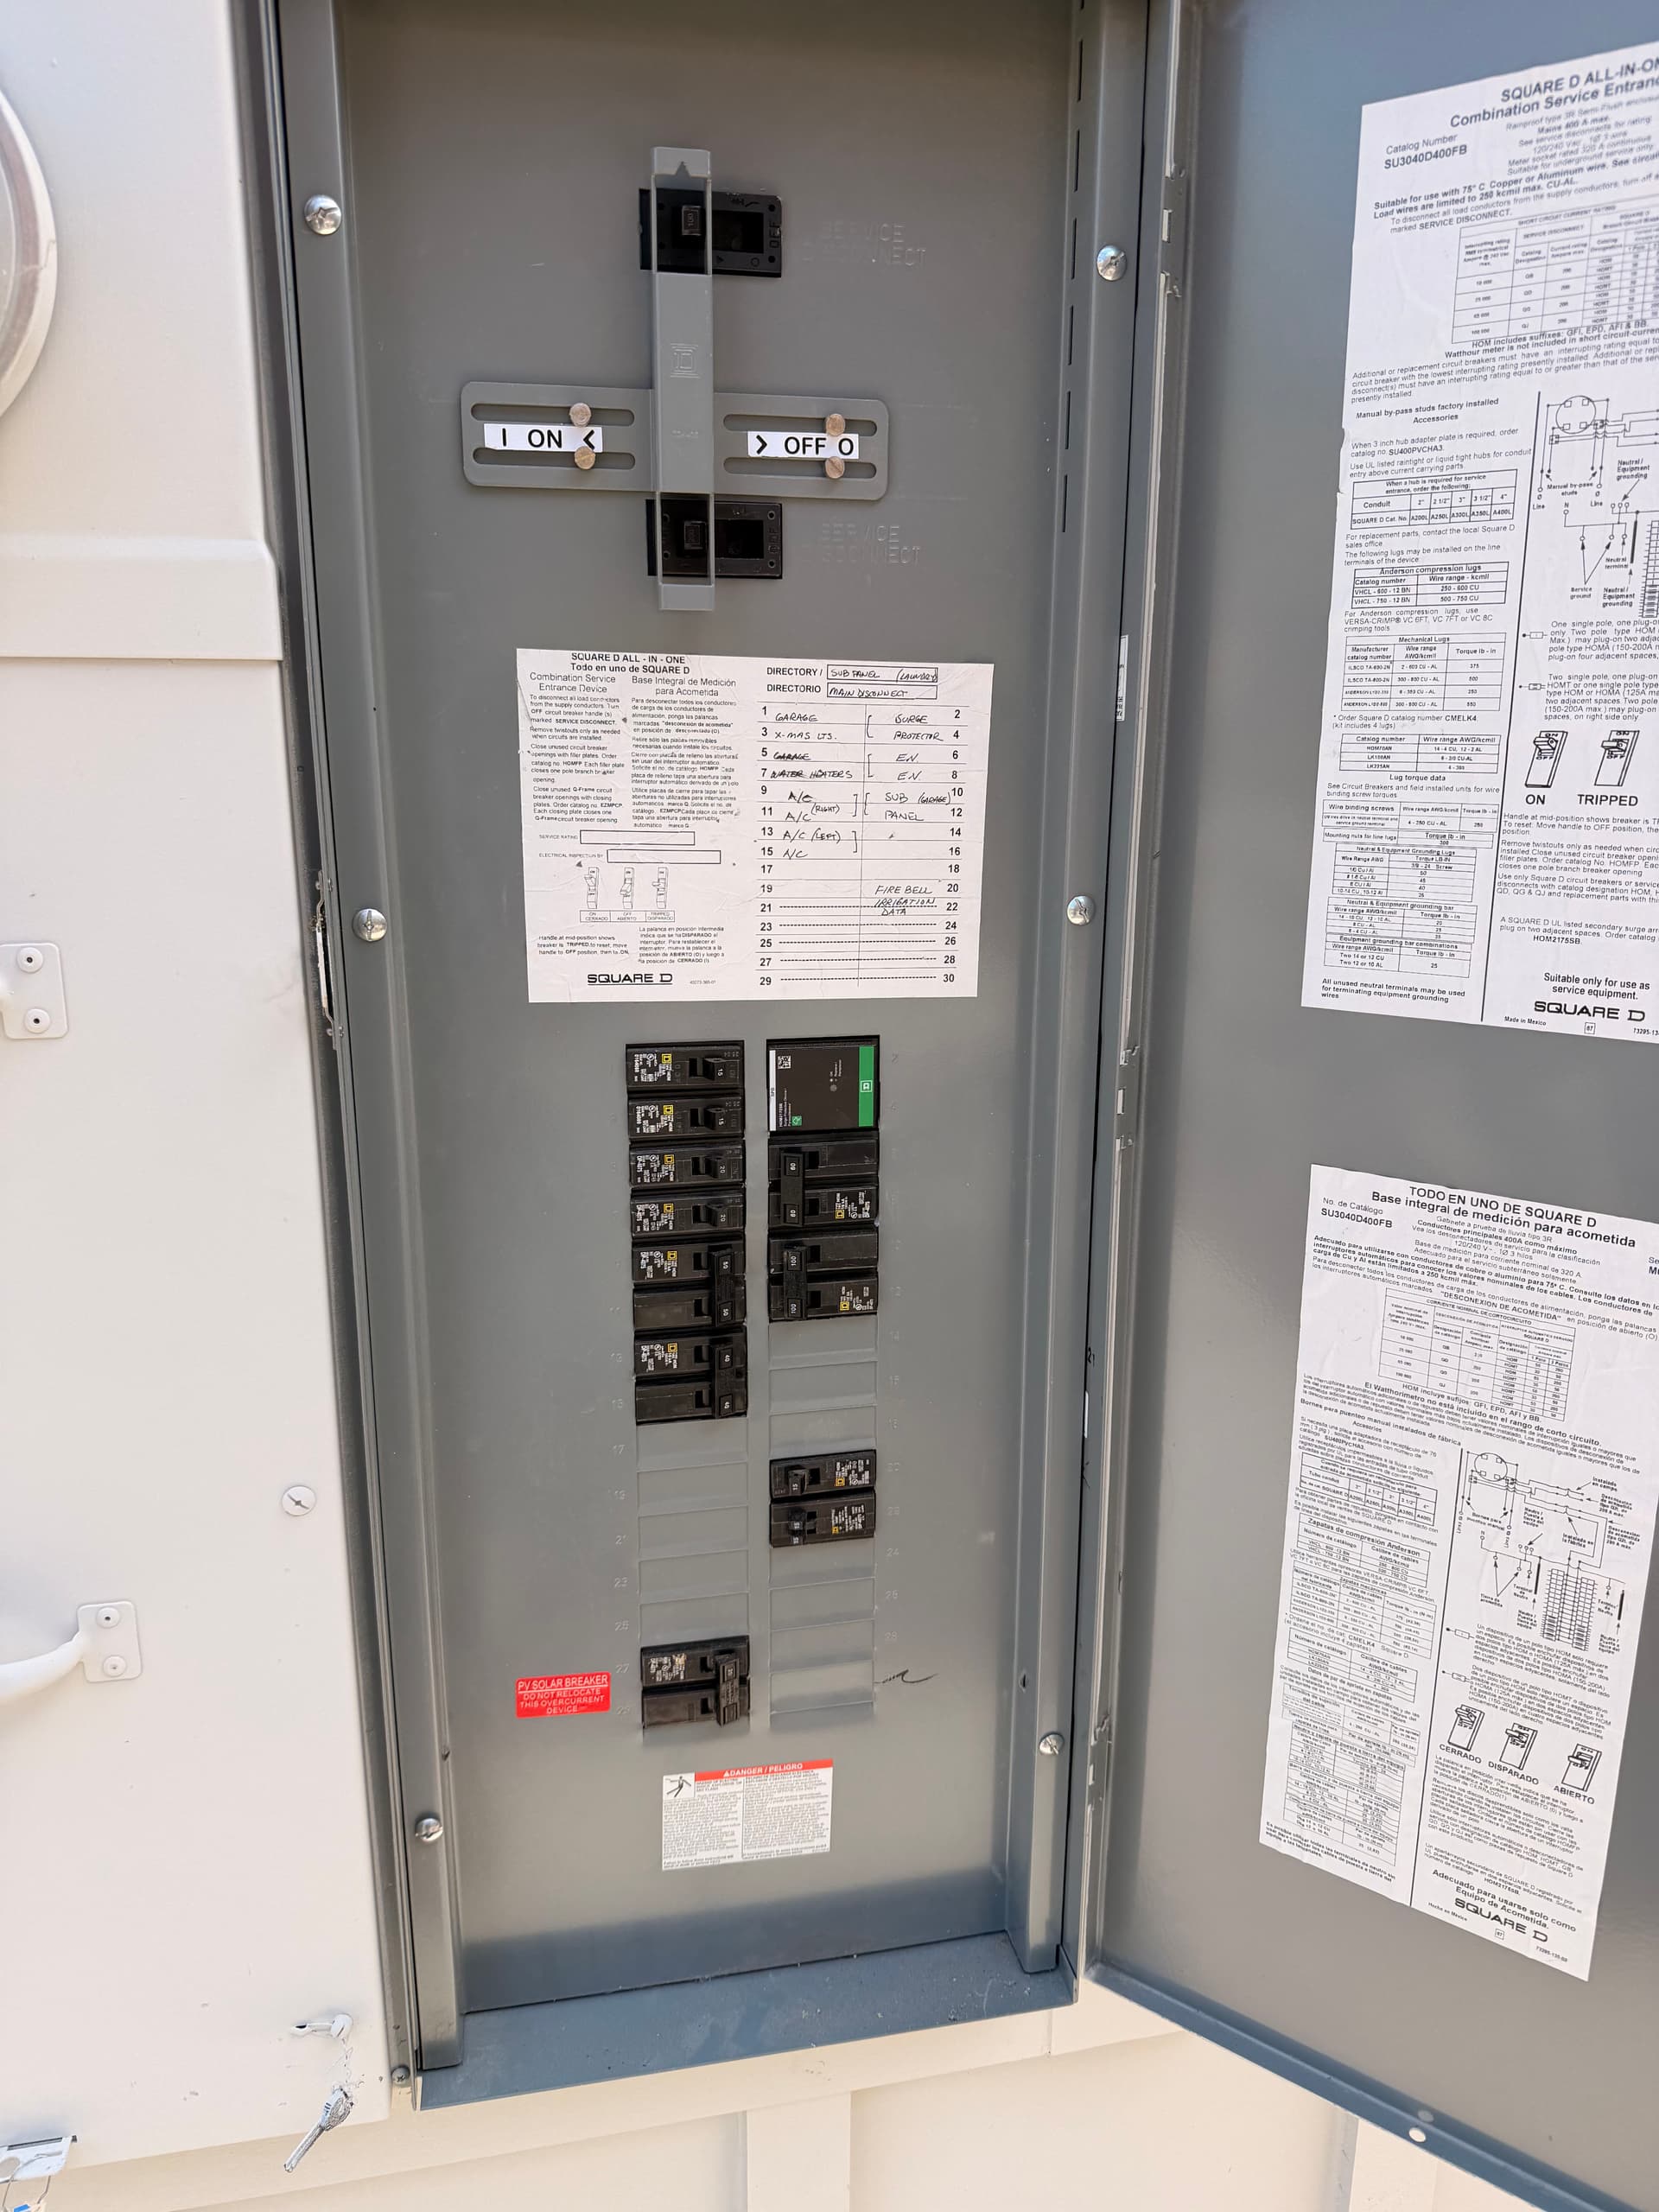
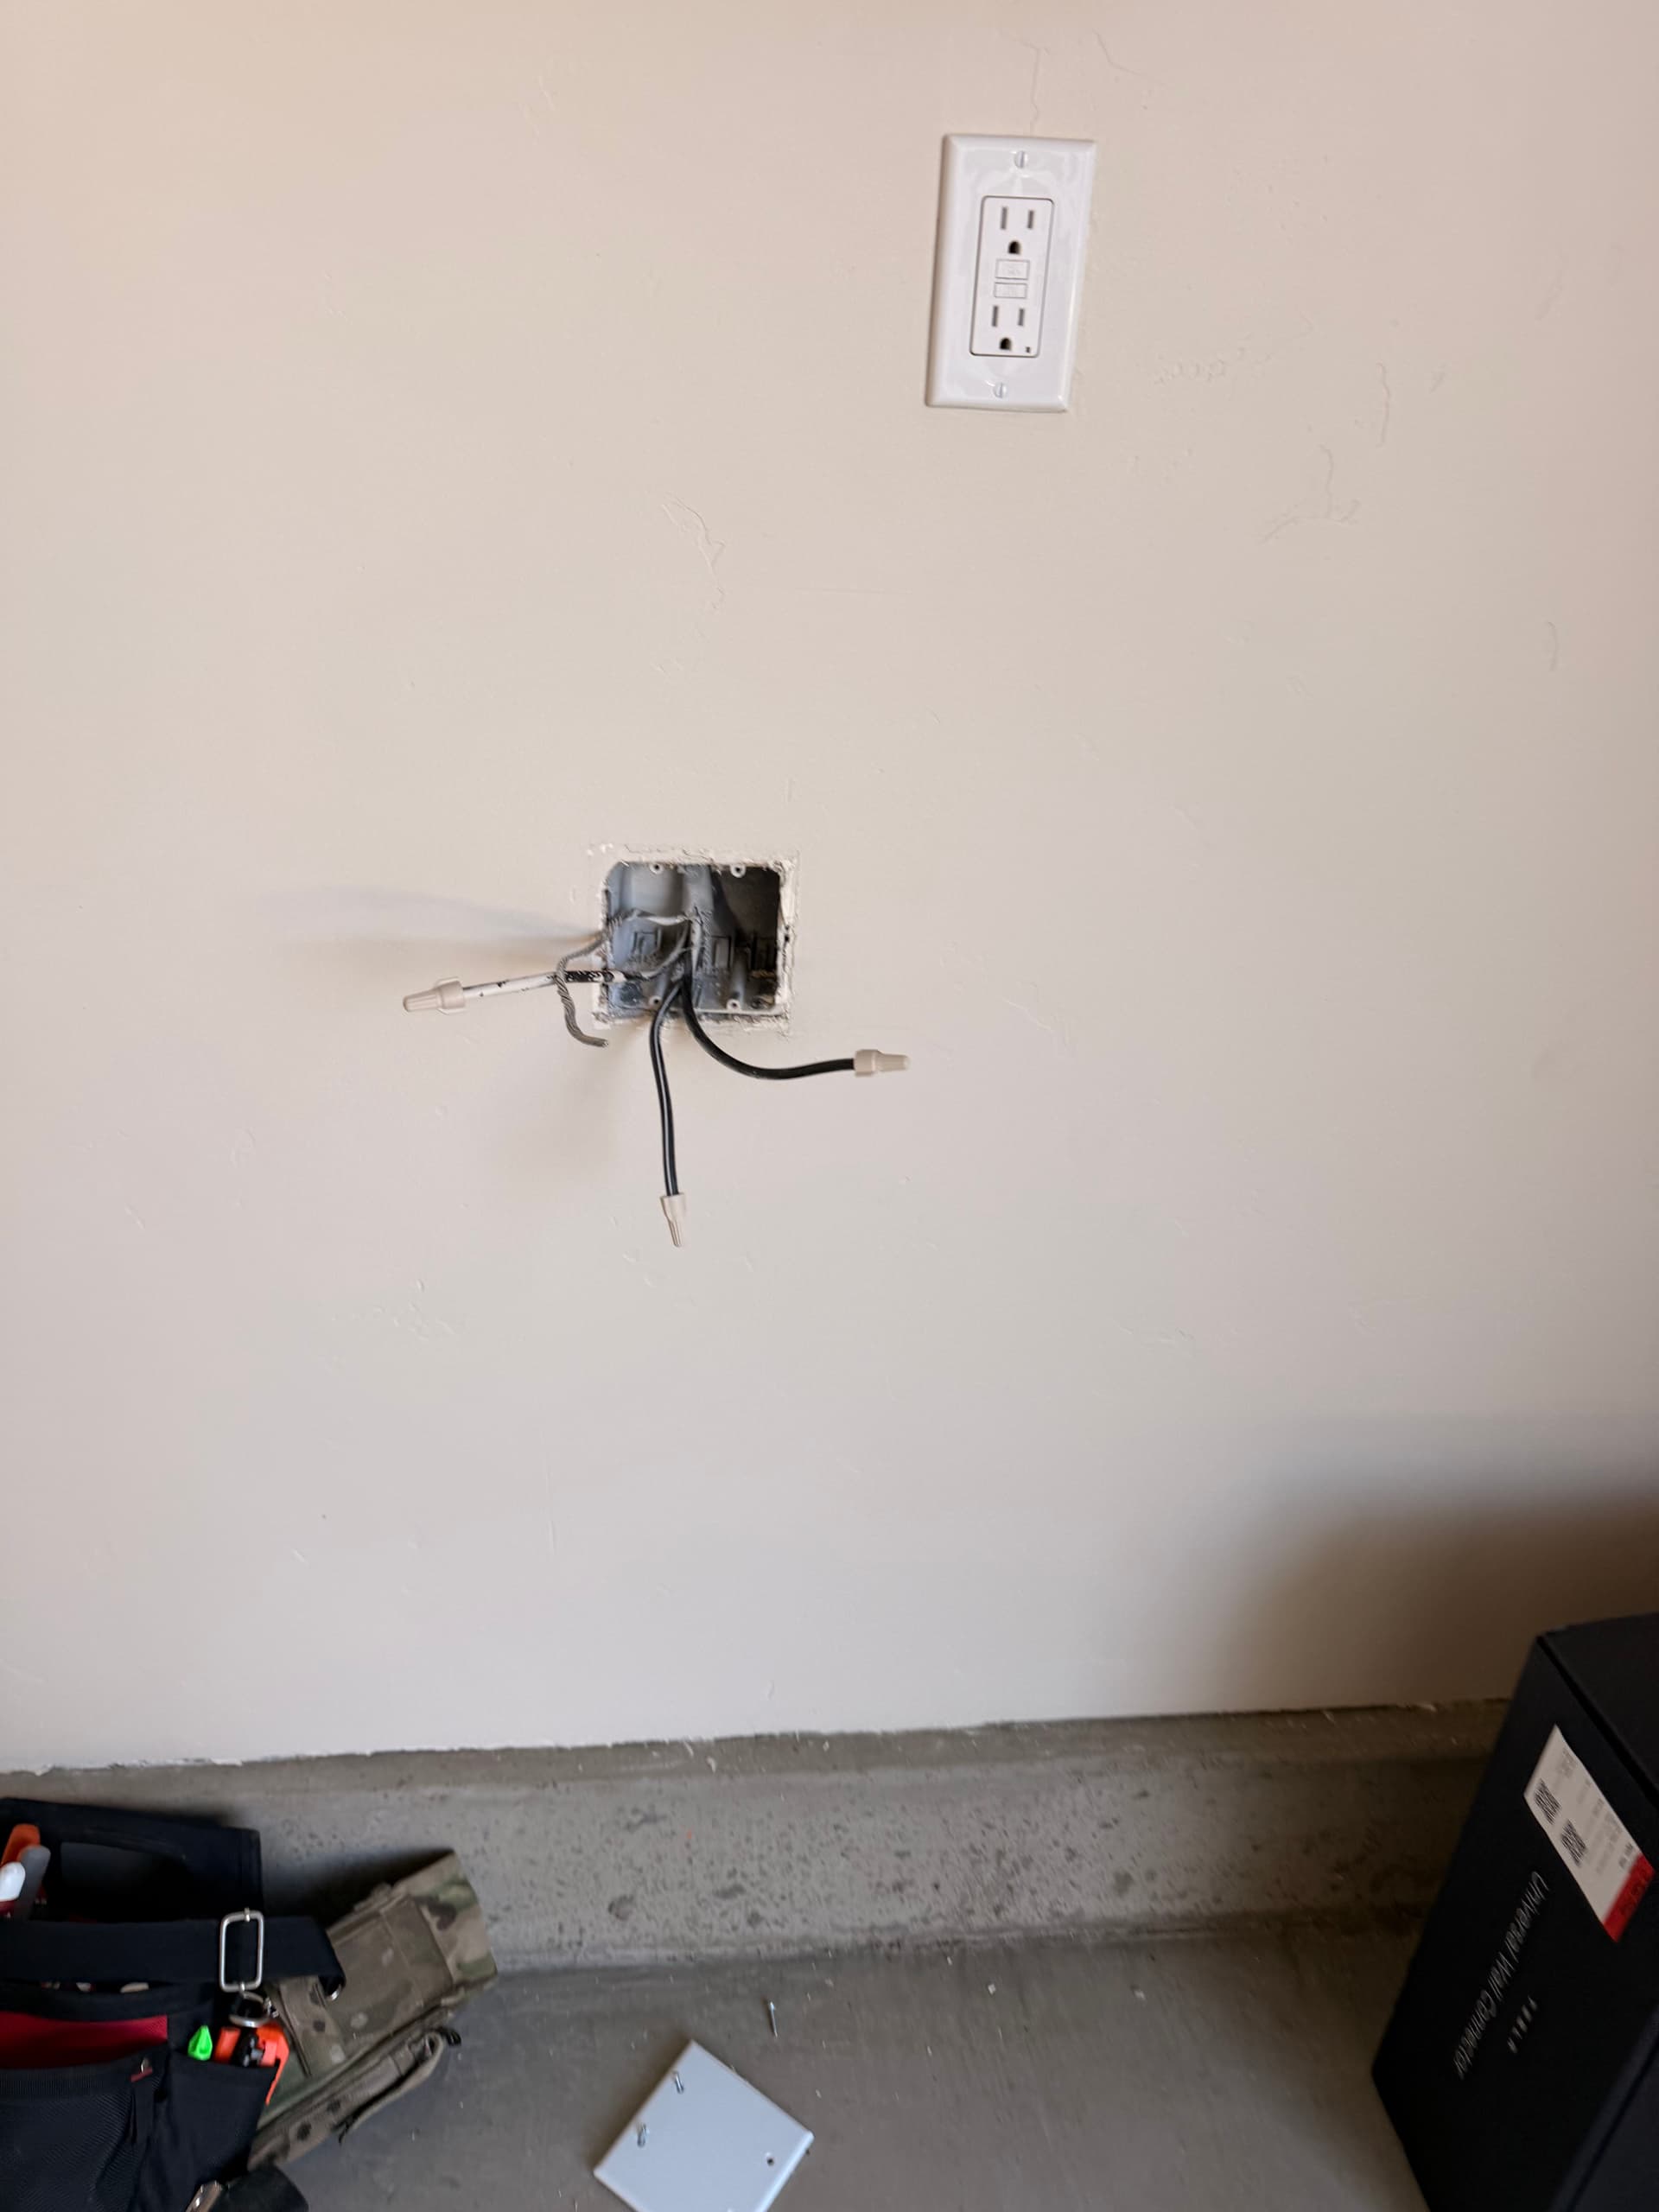
Here's what this one involved. We started by running a dedicated circuit from the panel - a Square D combination service entrance unit - and mounting an electrical box in the garage wall to give the charger a proper, secure landing point. No shortcuts, no piggybacking off an existing circuit. The charger gets its own clean feed.
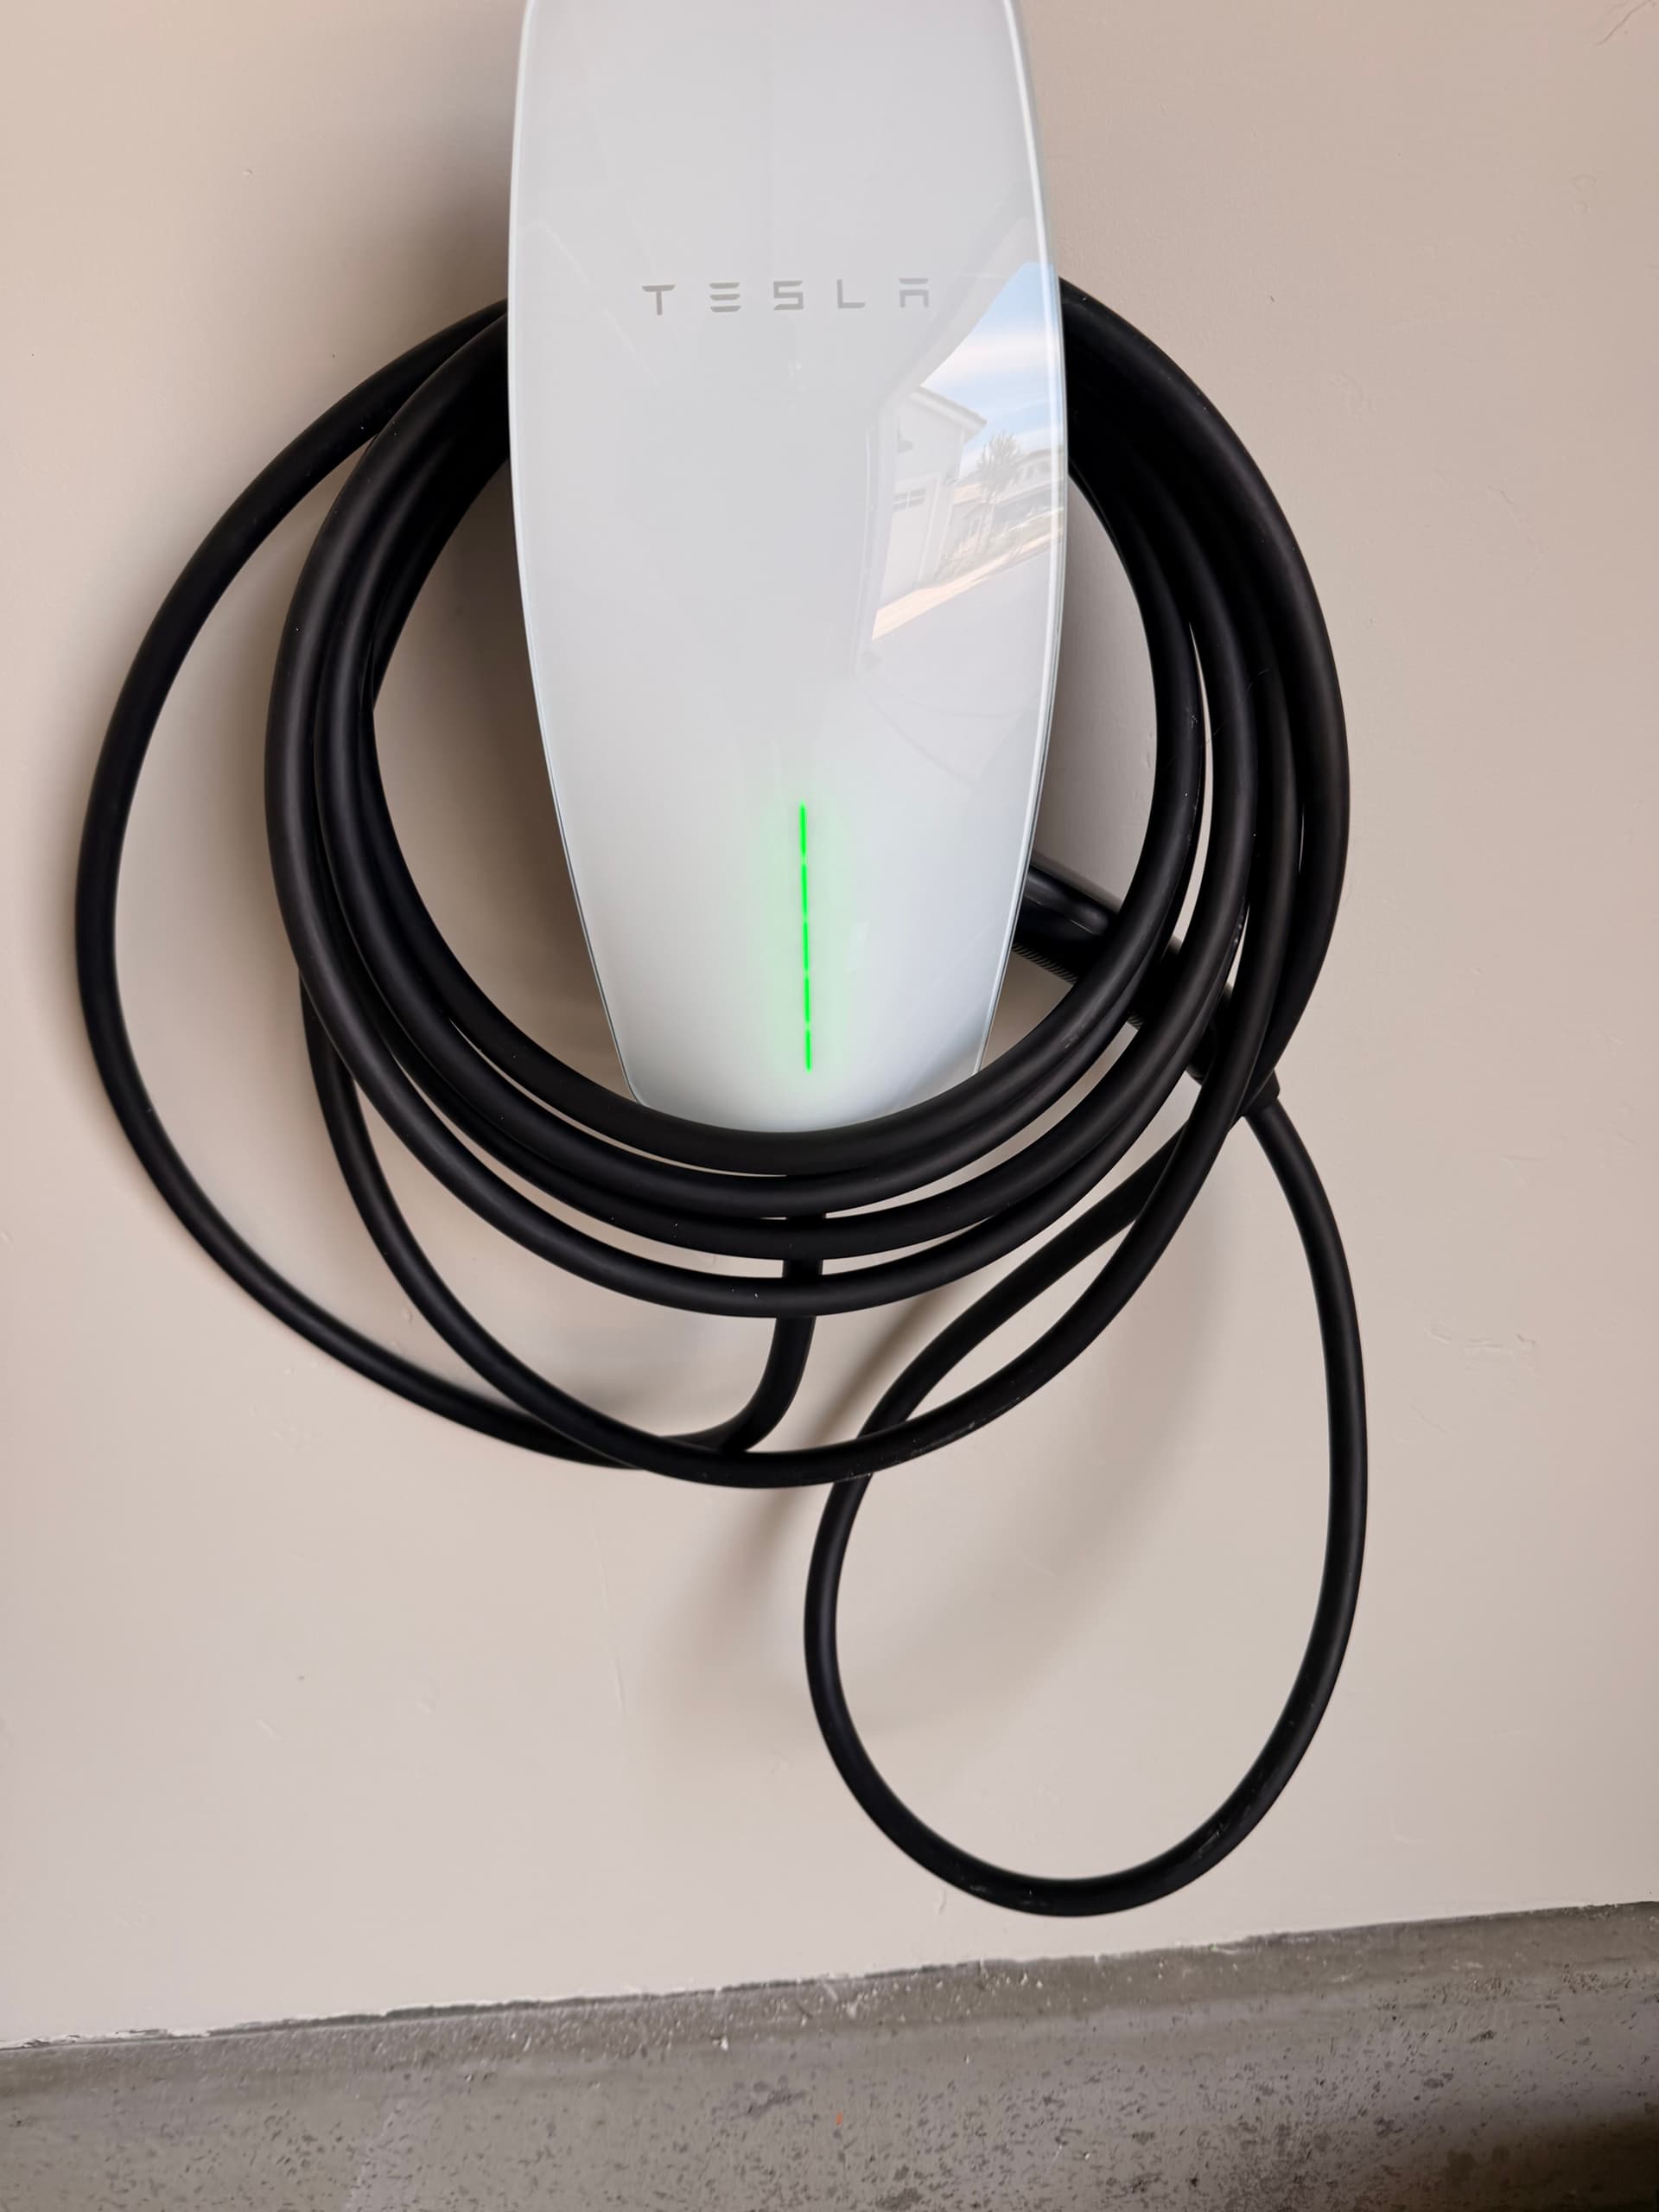
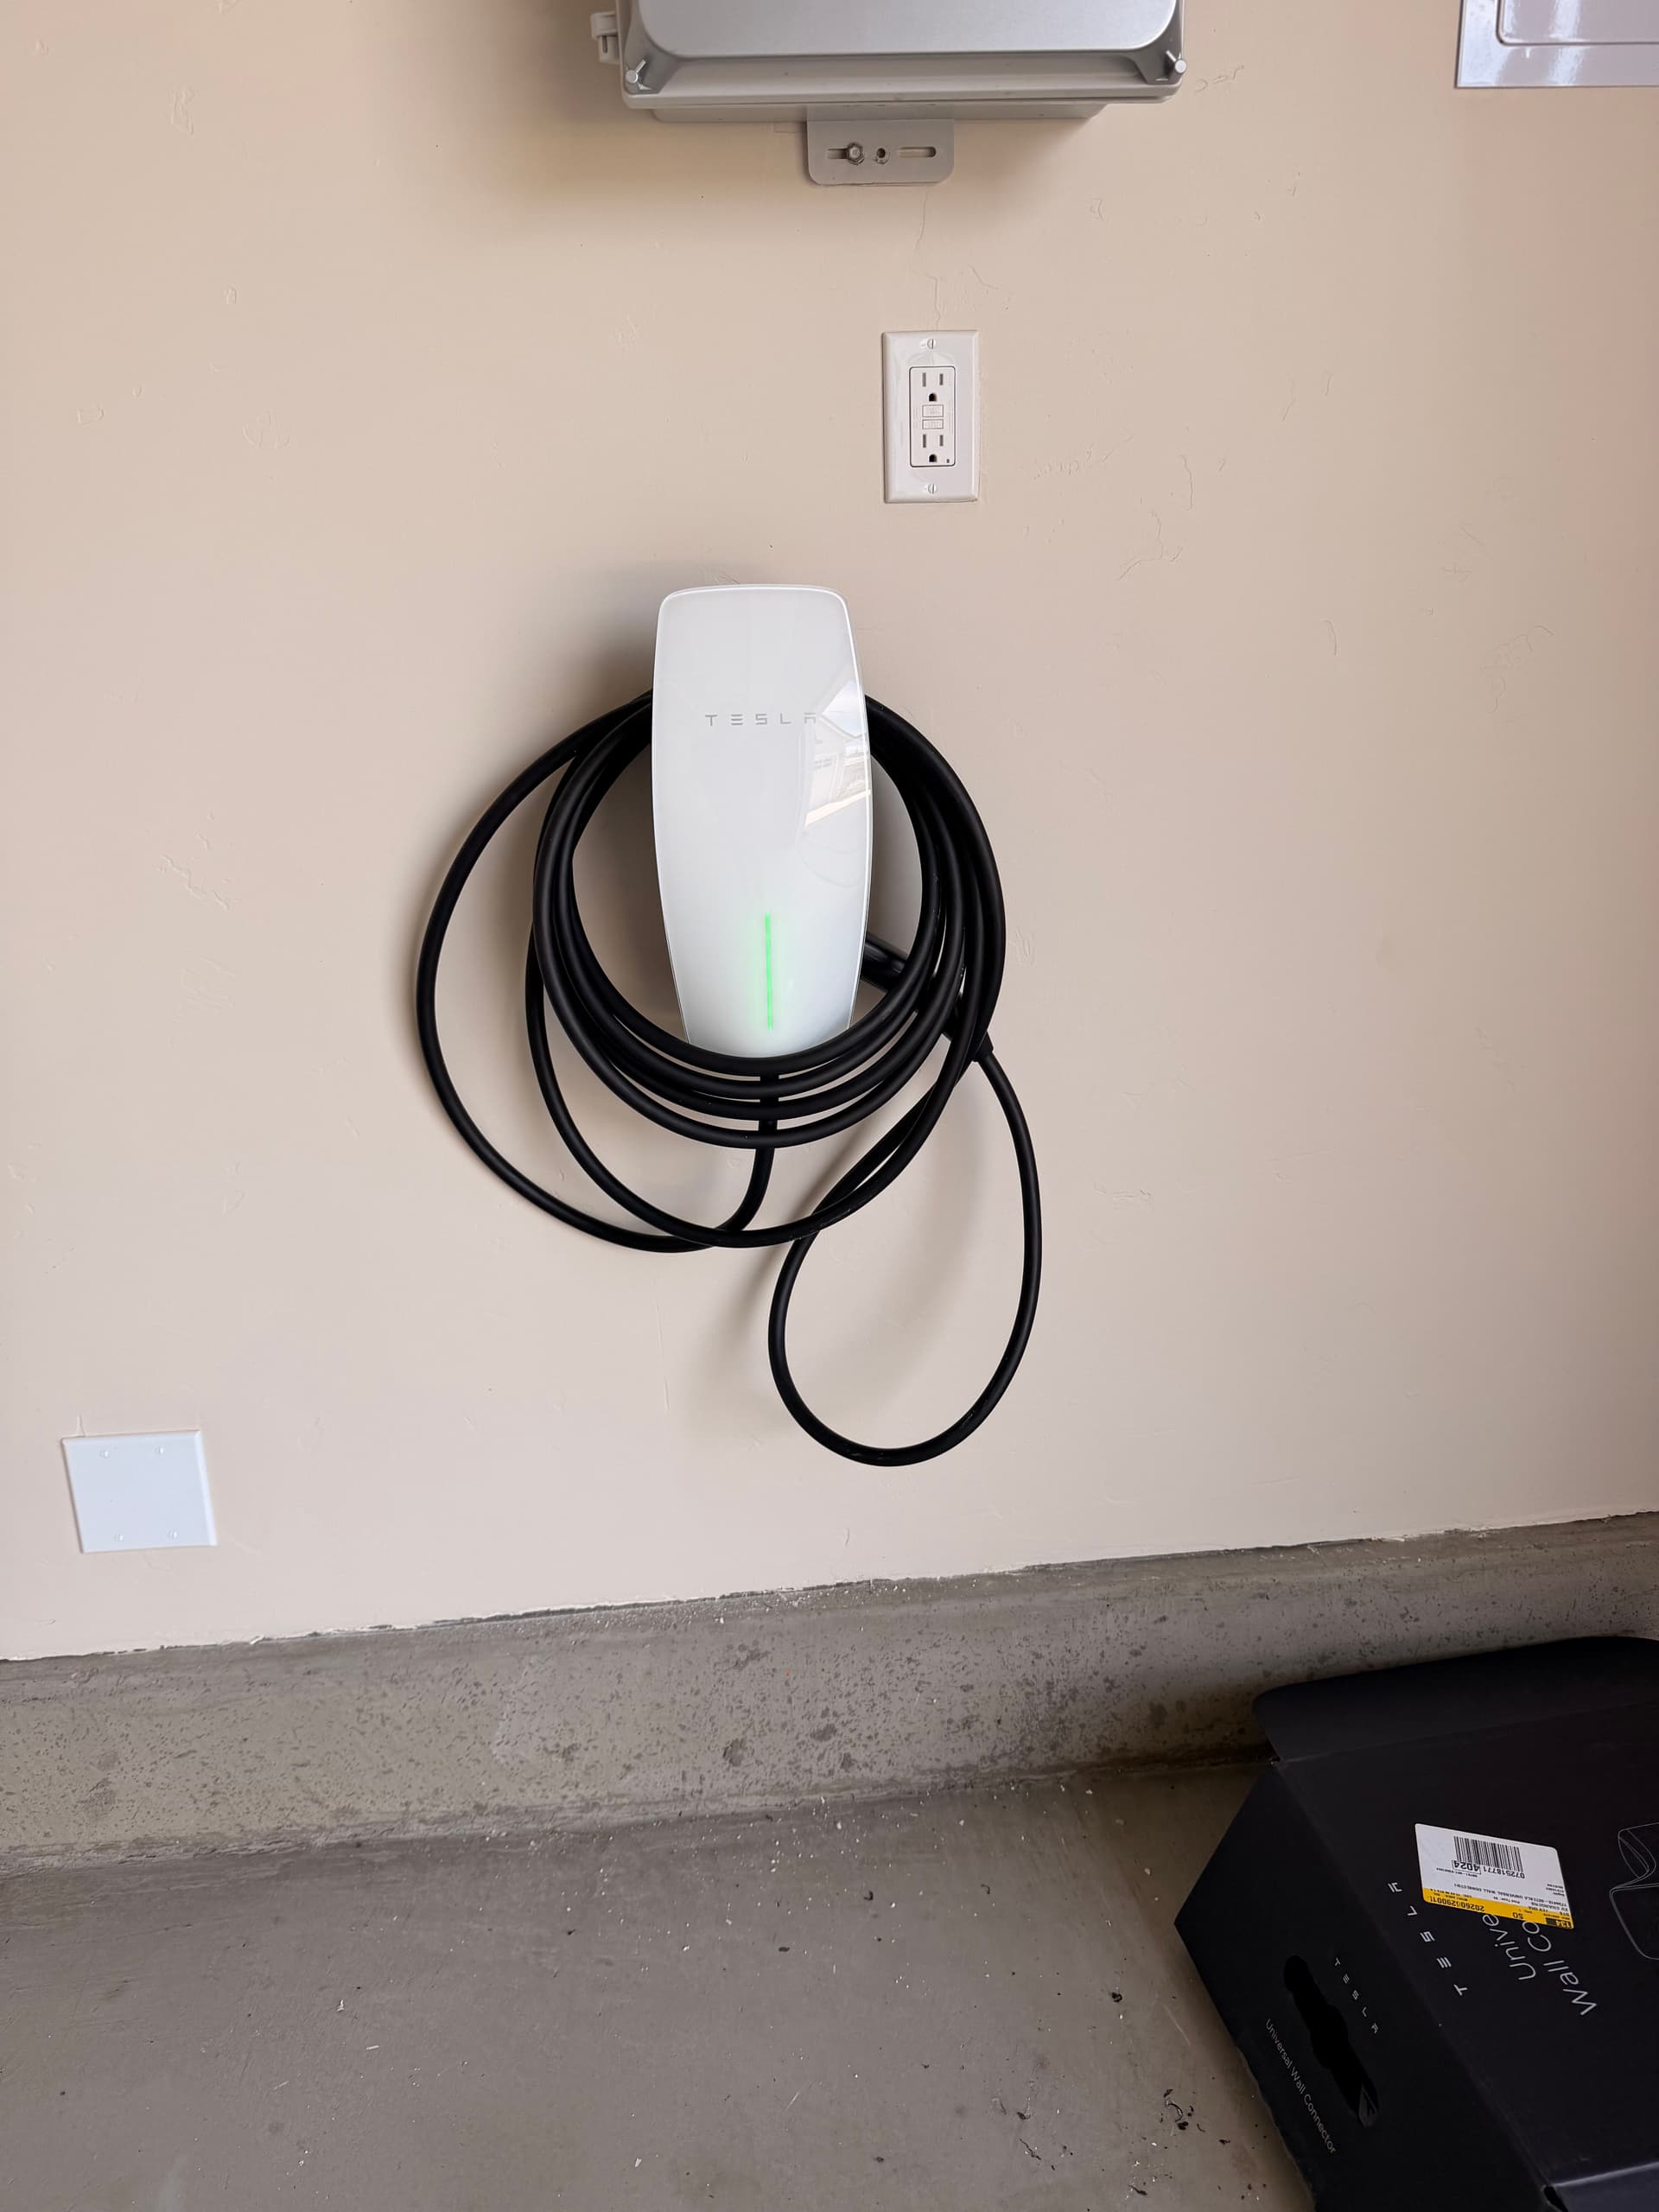
Once the rough-in was done, we mounted the Tesla Wall Connector and got everything buttoned up. The unit sits flat against the wall, the cable wraps neatly around it, and that solid green light on the front tells you everything is live and working. Clean, functional, and built to handle daily charging without any issues.
This is the kind of install that holds up long-term. A dedicated circuit means the charger isn't competing with other loads in the home, which matters for both performance and safety. Whether you're charging overnight or topping off throughout the day, you've got a reliable setup that works the way it's supposed to.